When we think of ViSit Anywhere Auto-Synchronization (VAAS) we usually think of a robust shadow database of a ViSit Anywhere project in PostgreSQL with PostGIS. I must admit that I love PostGIS, it works great. It uses simple standard SQL and everyone eventually finds a way to work that is really adapted for them. However, PostgreSQL with PostGIS is not the only kid on the block and recently we have been working with a Microsoft SQL Server (MSSQL) version of VAAS.
MSSQL also supports spatial data and QGIS can easily get this data and display it. The MSSQL connector in VAAS is simple to use and robust, so if you are an MSSQL user, nothing is easier to set up than an MSSQL VAAS project. One note I have to make before continuing is that, while I love programming MSSQL in C#, I am more comfortable programming SQL with PostgreSQL. If any MSSQL gurus want to comment or correct the SQL presented here, feel free.
Working With MSSQL
In this article, I will be using a LocalDB integrated with Visual Studio 2015. This type of database is used by developers to design, implement and test database applications. For our purposes, the database will be used just like any other MSSQL installation. but I will be using Visual Studio to execute my initialization scripts.
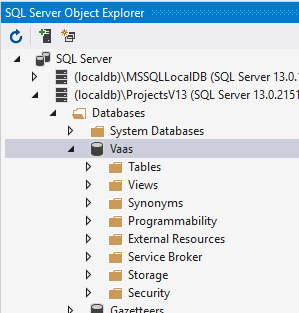
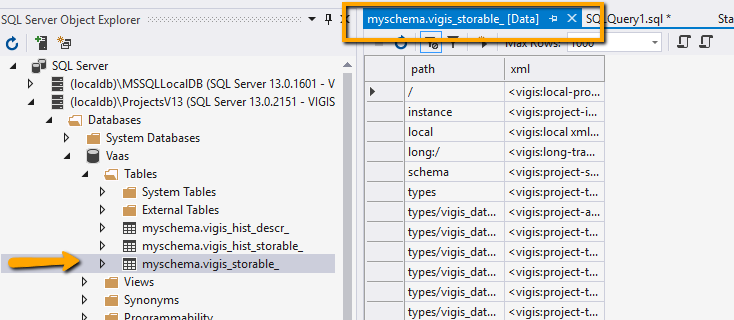
To start with, I have created a new database in the SQL Object Explorer in Visual Studio.
In order to get started using this database with VAAS, we have to create a connection that VAAS can use and a schema where all the data will sit. To get started, we will open a query dialog in Visual Studio to execute our initialization scripts.
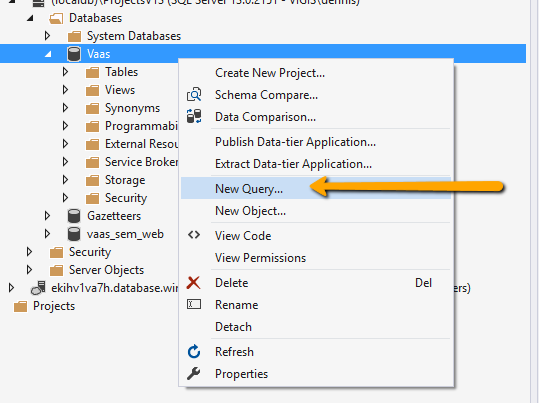
Now we can update and query the database by sending SQL commands.
In order to initialize a schema for use with VAAS we must perform three steps:
- Create a LOGIN,
- Create a USER
- Create a SCHEMA
Once this is done, we can launch VAAS and to start the synchronization. Note, that these three steps are very simple and getting the schema ready takes only a few minutes.
Initializing the Database
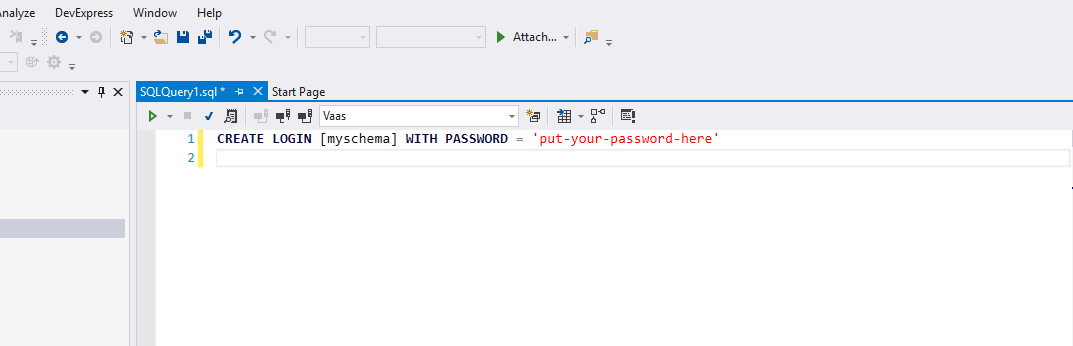
This first step is to create a LOGIN. The login tells MSSQL which credentials a user will use when connecting to the database. Sometimes, Windows credentials are used when working with MSSQL, but for service applications, like VAAS, it is much more appropriate to create a username/password credential. We do this in the first step.
CREATE LOGIN [myschema] WITH PASSWORD = 'put-your-password-here'
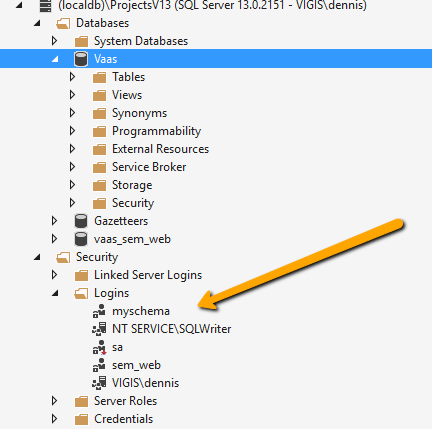
Here you should provide an appropriate password for your user and note it because it will be required by VAAS. LOGINs are objects that are created for an entire MSSQL server installation (rather than the more restrictive database), so we see the login in the security branch of the server.
Next, we have to create a database user (and associate it with our login). Again we will use a simple script to perform this action.
CREATE USER [myschema]
	for LOGIN [myschema]

GO


GRANT CONNECT, CREATE TABLE, INSERT, CREATE VIEW, EXECUTE, SELECT, DELETE, UPDATE, CREATE FUNCTION, CREATE PROCEDURE, VIEW DEFINITION  TO [myschema]
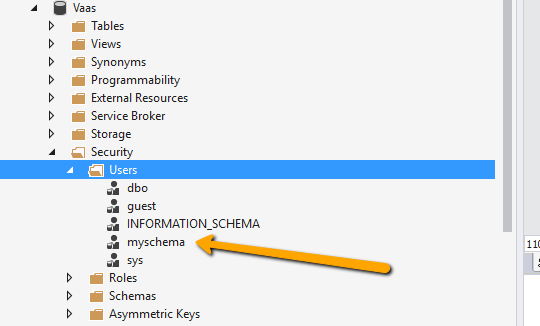
This time, we should see the User in the database branch under the security node in the MSSQL server explorer in Visual Studio.
Finally we want to create a schema and set our newly create user to be the schema owner. Note, in the previous script we provided all the privileges required by VAAS for our user.
CREATE SCHEMA [myschema] authorization [myschema]
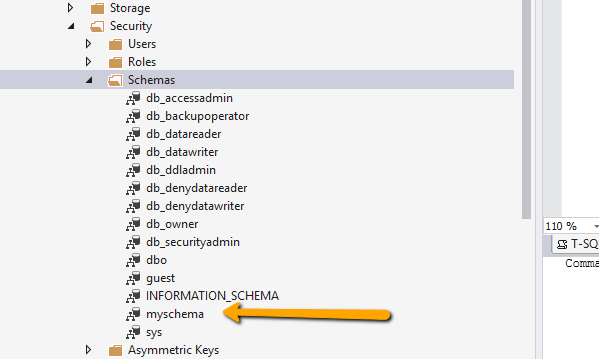
This will create the new schema which is displayed in the security node of the MSSQL server explorer.
We are now ready to connect VAAS to our MSSQL database and to start synchronizing project data.
Configuring VAAS
Configuring VAAS for MSSQL is very similar to configuring it for PostGreSQL. From the start tab, we select the Add button. When the dialog appears we select the Microsoft SQL Server tab to specify the connection credentials.
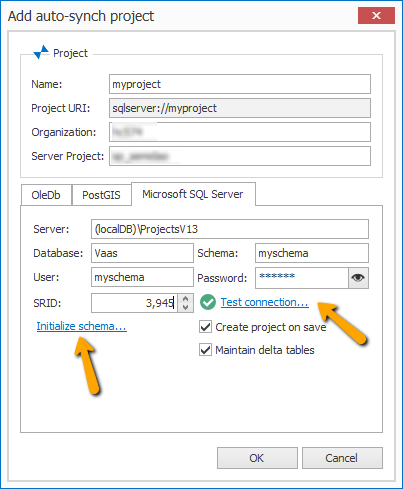
Note, that our Server URL string is that which we see in the SQL Server Explorer tree in Visual Studio and the name of the Database corresponds to the target database on that server. After this, I specify my schema and my user (with the password). Once this has been done, we can test the connection. The green check mark means everything is OK.
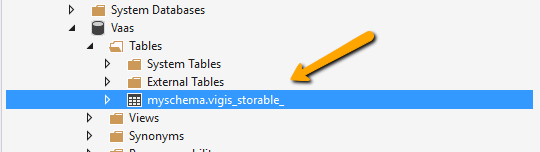
Because we have just created our schema, we now have to initialize it. We do this by clicking on the Initialize schema... link in the configuration control. This will create the storables table in the schema that will be used to bootstrap the project. Once we have clicked on this link, we should be able to see the table in the Server Explorer in Visual Studio.
Now, making sure that we have selected the Create Project on Save check box, we can close the dialog. This will allow VAAS to install the first revision containing the basic objects and history tables.
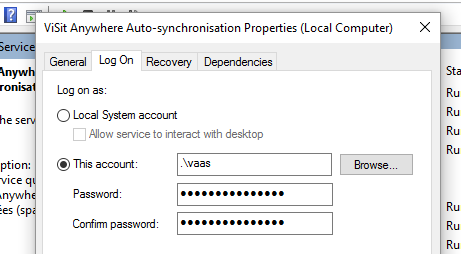
Now we are ready to start the VAAS service (which will launch the synchronization of the project). Before we can start the service it is important to point out that, unlike PostgreSQL, when using VAAS with MSSQL the service user is required to have elevated privileges. Your Windows administrator should be able to create a specialized user with the appropriate privileges. Here I created a local user for vaas and will be using this user to run the service.
Now we can start the VAAS service and wait for the database to be synchronized. We have observed that MSSQL, in some instances, executes much faster than its PostgreSQL-based counterpart (as much as an order of magnitude).
MSSQL and QGIS
It is easy to see data in MSSQL with the opensource GIS tool, QGIS, in a way similar to visualizing PostGIS data. In this case, we will be using an MSSQL connection rather than a PostgreSQL connection. For this, we must first add an MSSQL layer from the user interface.

QGIS will not really give you any help connecting to database, so consider the screenshot below.
sh 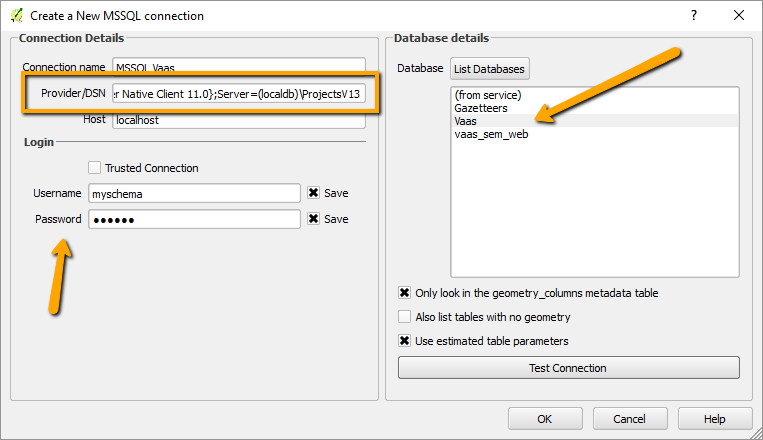
Before we start, I am using my SQL Server LOGIN credentials to connect to the database. This allows me to be sure that I always have the same privileges for all my processing. Next, the hard part of this connection is the Provide DSN field. Basically, we want to provide the Driver and a Server part of the connection string which is commonly used to connect to MSSQL. The server is our localdb service and the driver is the MSSQL native client (version 11 in my case). The text that I use in this case is as follows (you may have to modify the details).
Driver={SQL Server Native Client 11.0};Server=(localdb)\ProjectsV13
Once this has been defined, we should be able to click on the List Databases button and select our database. Clicking on the Test Connection should then result in a connection that works.
Even though MSSQL does not provide tools to transform between coordinate system, VAAS will associate a SRID with all the geometry columns. Thus, when we connect to the database, we can select the tables with geometry and see the associated coordinate systems.
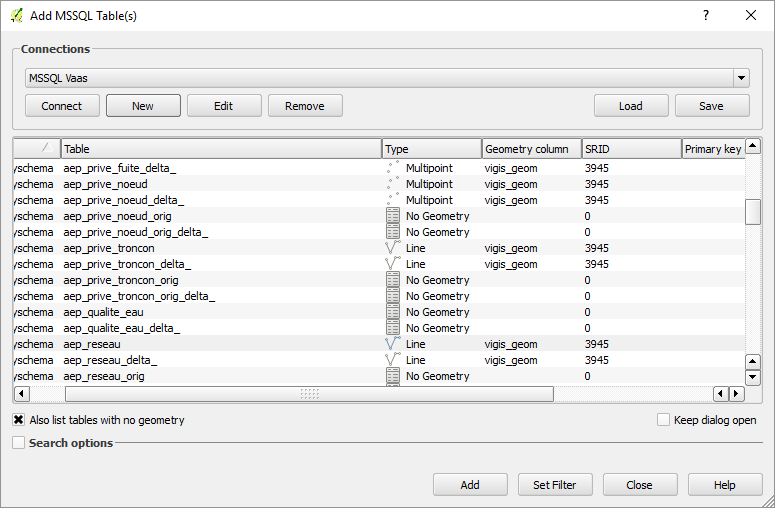
Here we select our spatial tables exactly as we would for a PostgreSQL database.
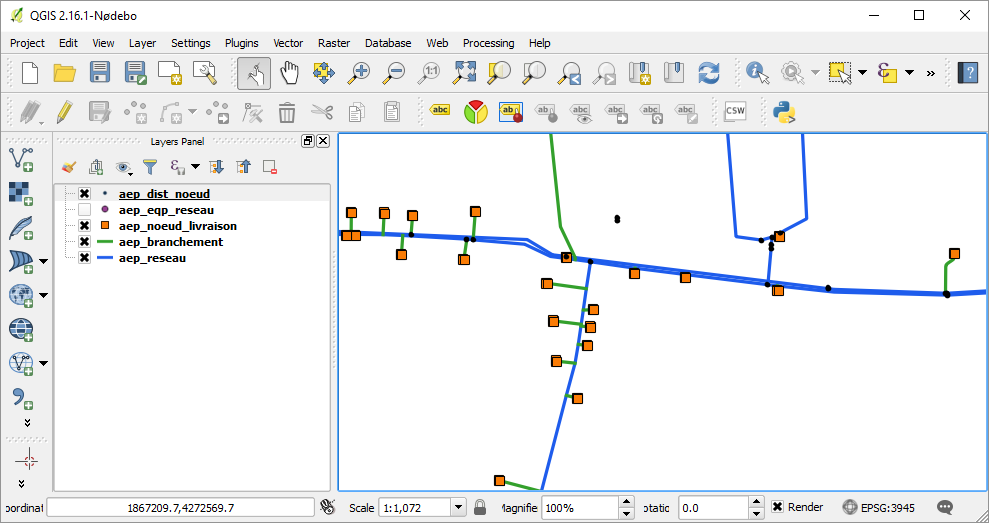
Finally, once we have selected our tables we can navigate in the data in QGIS exactly has we did with other, PostgreSQL based projects.
Summary
Microsoft SQL Server provides a viable, high-performance back-end for ViSit Anywhere Auto-Synchronization. We have shown in this article how to initialize, create and visualize the data in this type of database. VAAS with MSSQL extends the tools available to users wishing to integrate ViSit Anywhere information into their enterprise data applications.